

Today we have a special treat. Guest blogger Becca, from Love Our Disney, is sharing step-by-step instructions on how to make your own Character Autograph books! These books are super cute, small enough to fit in your park bag, and will be a wonderful memory-maker! Be sure to let us know if you create one of your own! Thank you, Becca, for sharing your ideas with us! ~Terri
Thank you for letting me share this craft tutorial with you!
When getting ready to go on a Disney trip, I love to make a lot of personalized, special items. Not going to lie, part of the reason is I love how proud I feel when other park guests say “That _____ is adorable! Where did you get it?” The main reason though, I like personal souvenirs and I like to craft to get me excited for the trip. Plus, when I can make something this durable and cute for cheaper than the standard Disney bought version, why not?
So, grab some supplies, and let’s make some personalized Disney Autograph Books!

For this craft you will need:
- Chip Board – You can buy it pre-measured to the right size, or a large piece you cut (I did the latter as the 12×12 were on clearance at Hobby Lobby)
- Card Stock
- Distressing Ink (optional)
- Paper cutter
- Hole Punch or a binding system like The Cinch or Zutter
- Decorative papers, stickers, etc
- Adhesive
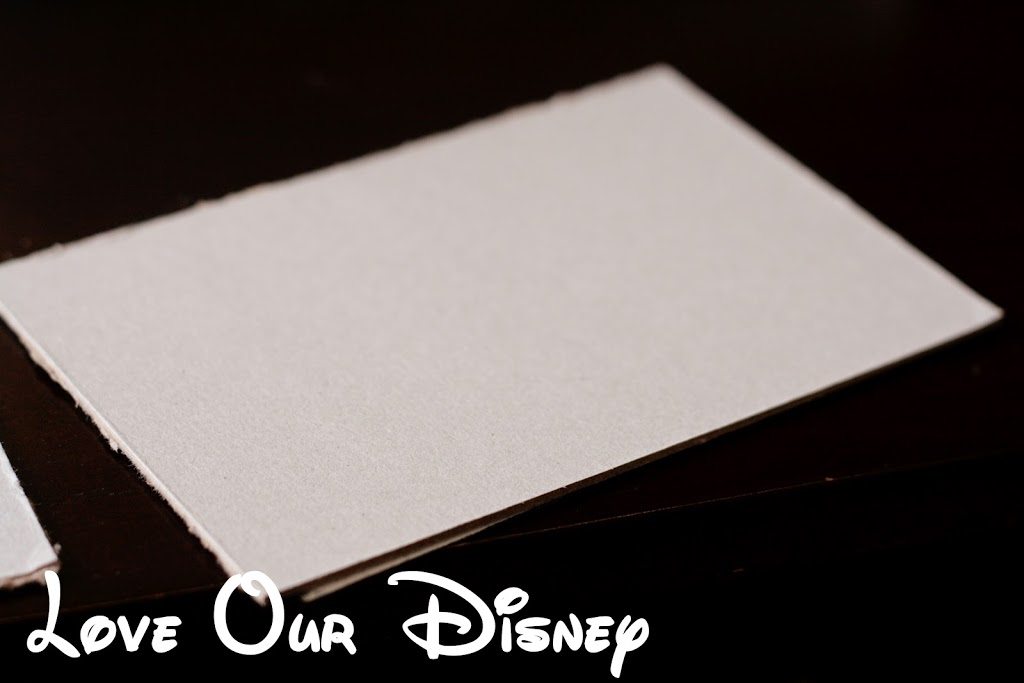
To start – I had 12×12 chipboard. I decided to make my books covers 4×6 so that I could get 3 books out of each piece (each book has a front and back cover). I cut my chipboard to the correct sizes.

Then I used decorative scrap book paper to cover the chipboard. I used different paper for each one based on the character that the person chose.

In this one, the character paper is actually the back cover.
Then I cut card stock. I cut each 12×12 and made them 3.75″ by 5.8″ You can make them the exact same size as the card board (4×6) to make it easy. Your pages need to be no smaller than 3×5 so that the characters have enough room to sign.
I then distressed the edges. I did this for 2 reasons. First, I like to distress things (as anyone who has read my blog knows) because I like the look. Second, distressing the pages helps them not look dirty when little kids handle them with not-so-clean hands.
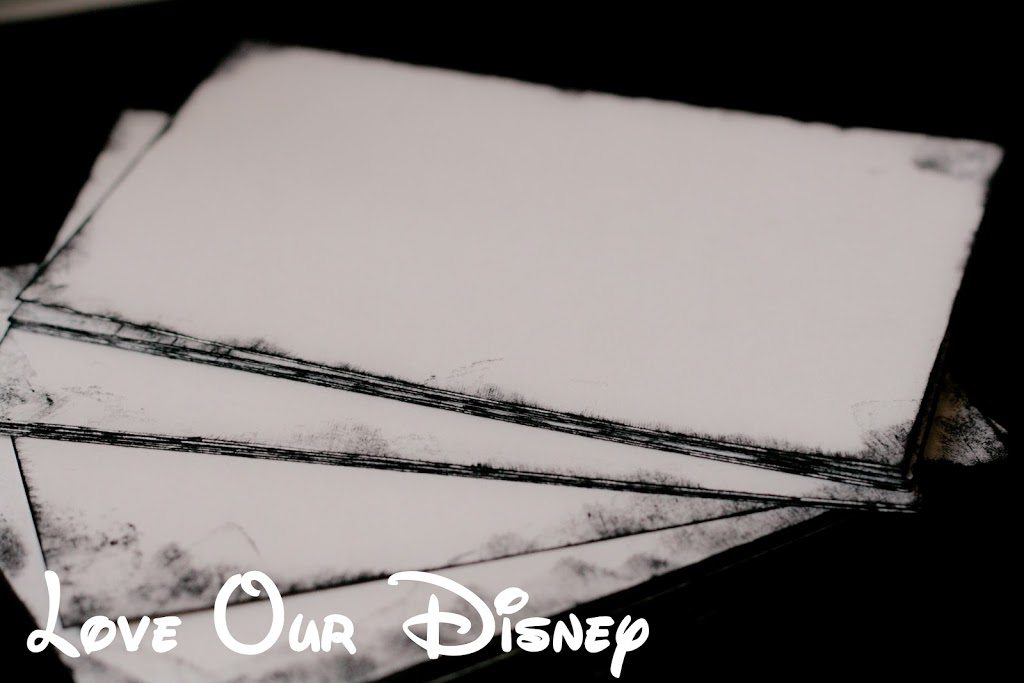
I was making 5 books (3 of which are in the picture above) so I cut 20 sheets of card stock (to make 120 pages). Each book will get 20 pages, and then the extras will be used for other parts of the books.
Next, I took a card stock for each cover and glued it to the inside. I then decorated it with stickers.

I also put an “If Found” label I made and printed in word on card stock. I put it in the back cover.
Next, decorate your cover. For the one pictured below I used stickers, alphabet fuzzy stickers, and some Disney rub-on accents. (Alphabet stickers and rub-ons added later).

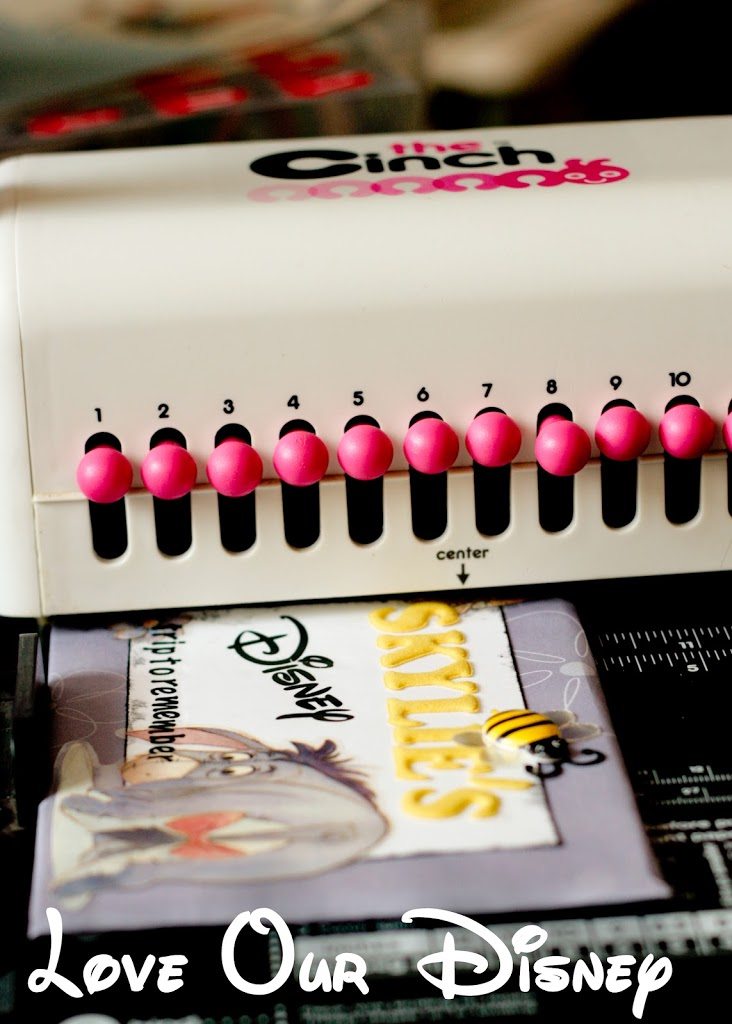
After you make your cover, and have everything done, it is time to bind it. I used The Cinch system to bind these. I like it better than the Zutter.
Remember to always practice on scrap pieces that are the same size before punching your actual project.
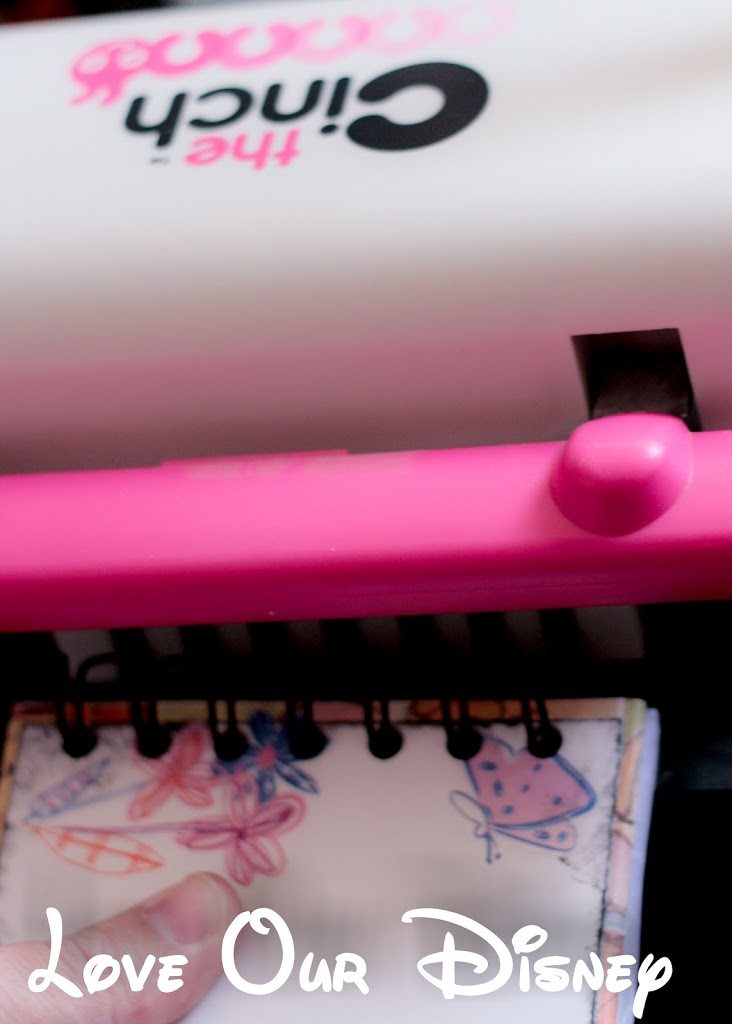
TIP: When you put the binding wire in, put the covers together, outsides (sides that will be the front cover and the back cover) facing each other then put all the papers on. After you bind it, flip over the cover not touching the card stock and it is all in order and the “seam” of the binding is inside the book. Be sure both your covers are facing the right way (top of pictures on same side).

Squeeze the binding as tight as possible.
(IF you do not have access to a binding system, you can use a hole punch. Punch 3 holes down the side and then carefully match up each piece/paper before punching the holes. Use craft rings to make it into a book.)
Now all you need to do is flip the covers the correct way and you are done.


Enjoy these personalized, one of a kind autograph books!
Becca grew up watching Disney movies and sing-a-longs and taking trips to Disneyland with her family. She continues the tradition now, but as a single income family with 2 full time students, does so on a budget. She started Love Our Disney to share her save money tips and craft tutorials with friends and family and it has grown from there. You can find Love Our Disney on twitter, facebook and pinterest as well as on the Love Our Disney blog.


Recent Comments